Images
Profile Image & Banner image are quite straightforward. You drag and drop your image and click Save Changes. Accepted file types:- JPEG
- PNG
- GIF
- APNG
- TIFF
- MP4
- MPEG
- AVI
- WEBM
- quicktime
- x-matroska
- x-flv
- x-msvideo
- x-ms-wmv
- GIFV
- CUR
Cursor
For setting a custom cursor, it’s recommended to set a small, transparent PNG image. https://cdn.vaultcord.com/gta5-cursor.png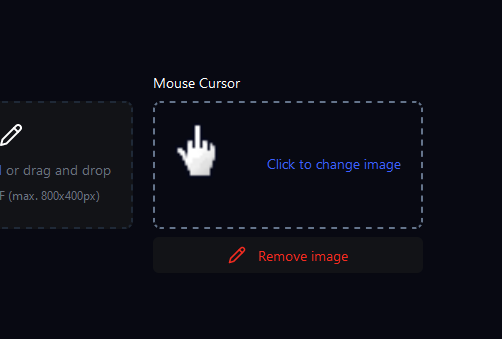 Now the cursor shows up on the verification page.

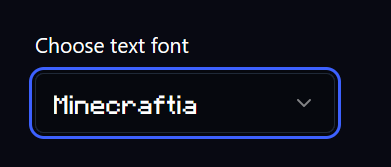
Fonts
Another customization option is font text. This will control the design of all text on the verification page. You get to preview how text will look like with that specific font. The default font isPoppins if you ever want to change back!
Colors
- Background Color: Color of the whole page, if no banner image is set.
- Text Color: Color of all text on the page
- Verify button color: Background color of the the button for verification
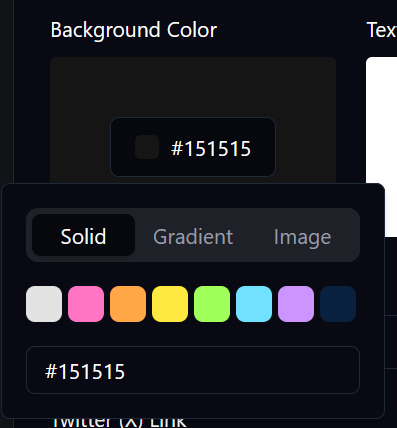
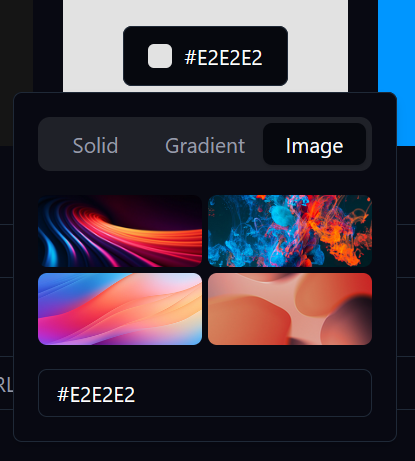 You can choose a solid color, gradient color (mix), or image wallpaper.
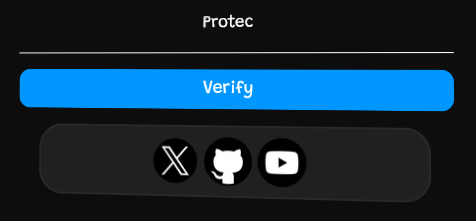
Social Links
You can add links to your social media.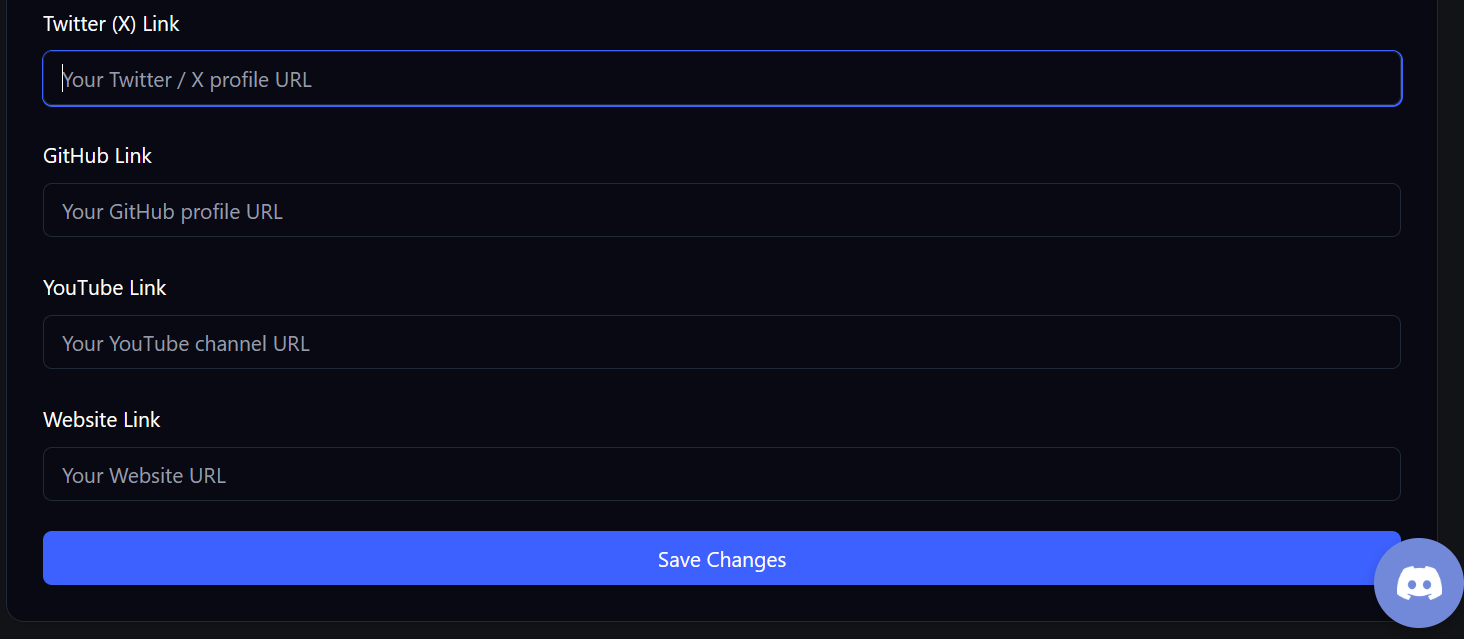 This is going be improved upon more soon.
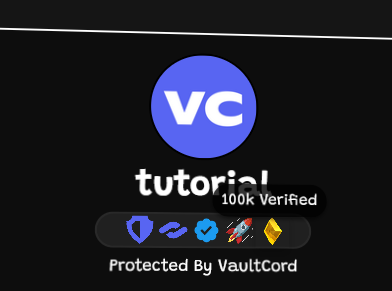
Badges
We have badges for the following achievements:- VaultCord Staff Team
- VaultCord Partner (we both advertise each other)
- VaultCord Verified (your brand is well-known)
- 10K verified members
- 100K verified members
vaultcord.win verification link.
Custom Domains
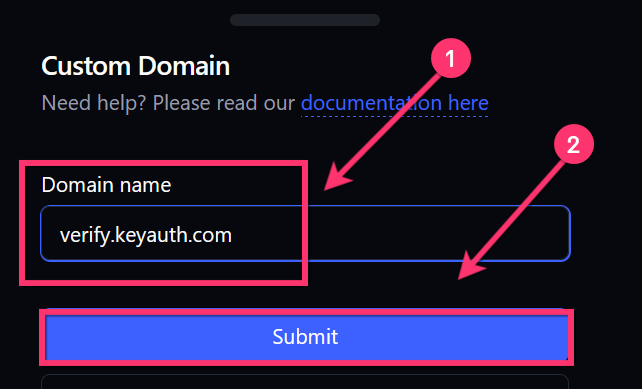
With the Plus subscription, you can put your verification page onverify.example.com in seconds!
This requires purchase of a domain name. You can get a $4/year
.win domain on Cloudflare Registrar we highly recommend them.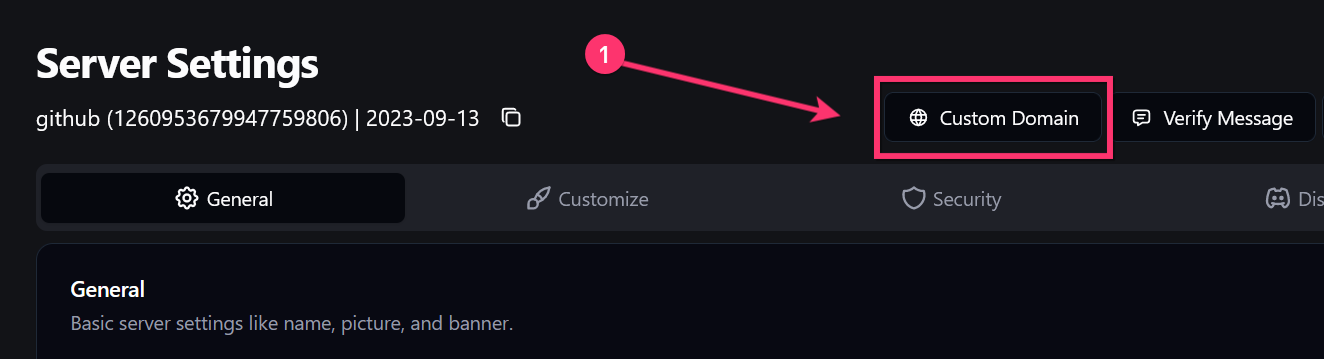 Note: This usually takes 2 minutes delay for DNS changes. That is normal.
First, provide your custom domain. It should NOT have
Note: This usually takes 2 minutes delay for DNS changes. That is normal.
First, provide your custom domain. It should NOT have https:// or / in it.
 Now we are going to add a DNS record. Cloudflare is the fastest for DNS changes. Namecheap is very slow for DNS changes taking effect. Please read this tutorial to use Cloudflare on Namecheap (not required but recommended)
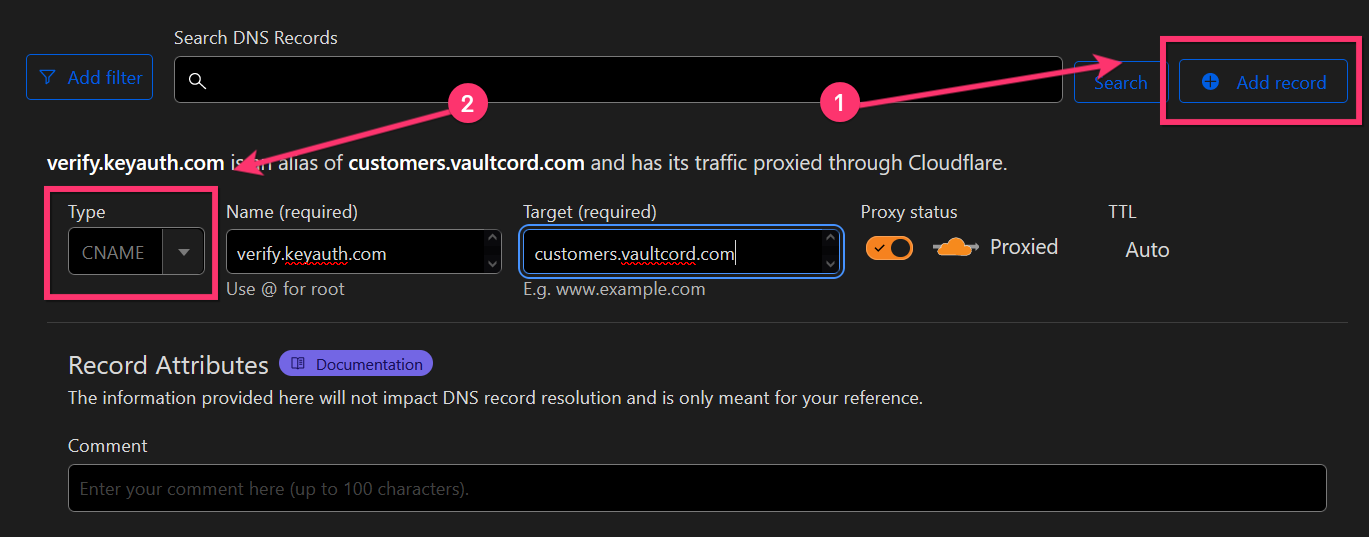
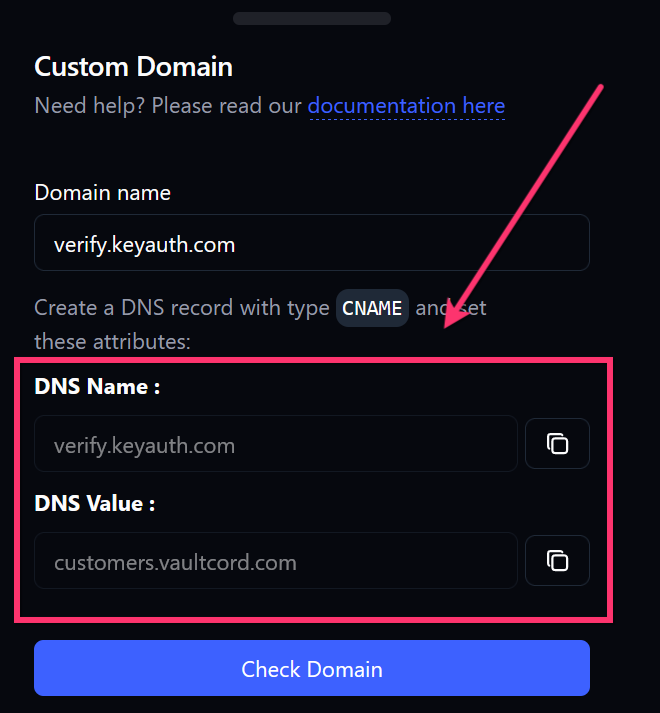 Copy the DNS name and DNS value (target) and place it in your DNS settings.
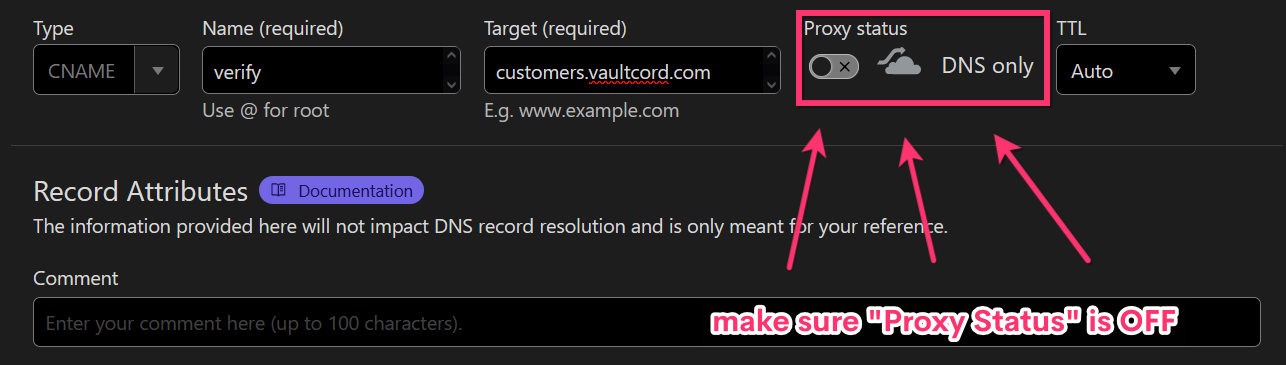
 If you get the Too Many Redirects error, this is related to your Cloudflare SSL mode not being on Full. You can find this by disabling the proxy status of the DNS record.

 After about 2 minutes delay, the DNS changes should show up when you visit the site. If you still aren’t seeing the site, try to clear your DNS cache or use a VPN.
You have successfully set a custom domain
Any Questions?
If you have any questions, join our Discord Server and ask us anything!